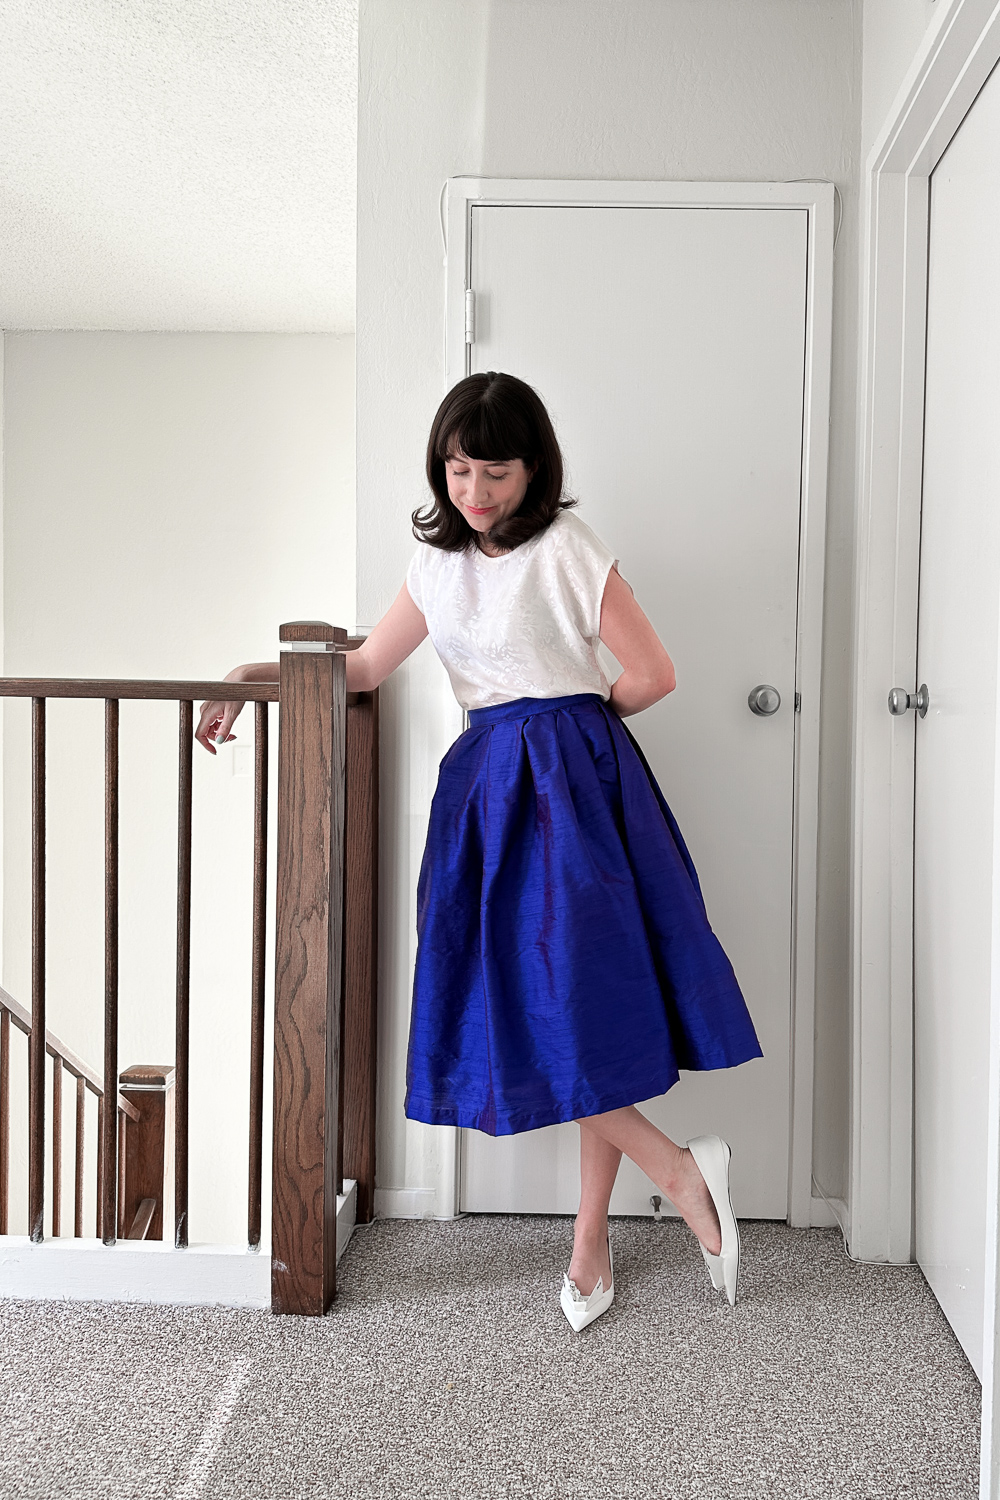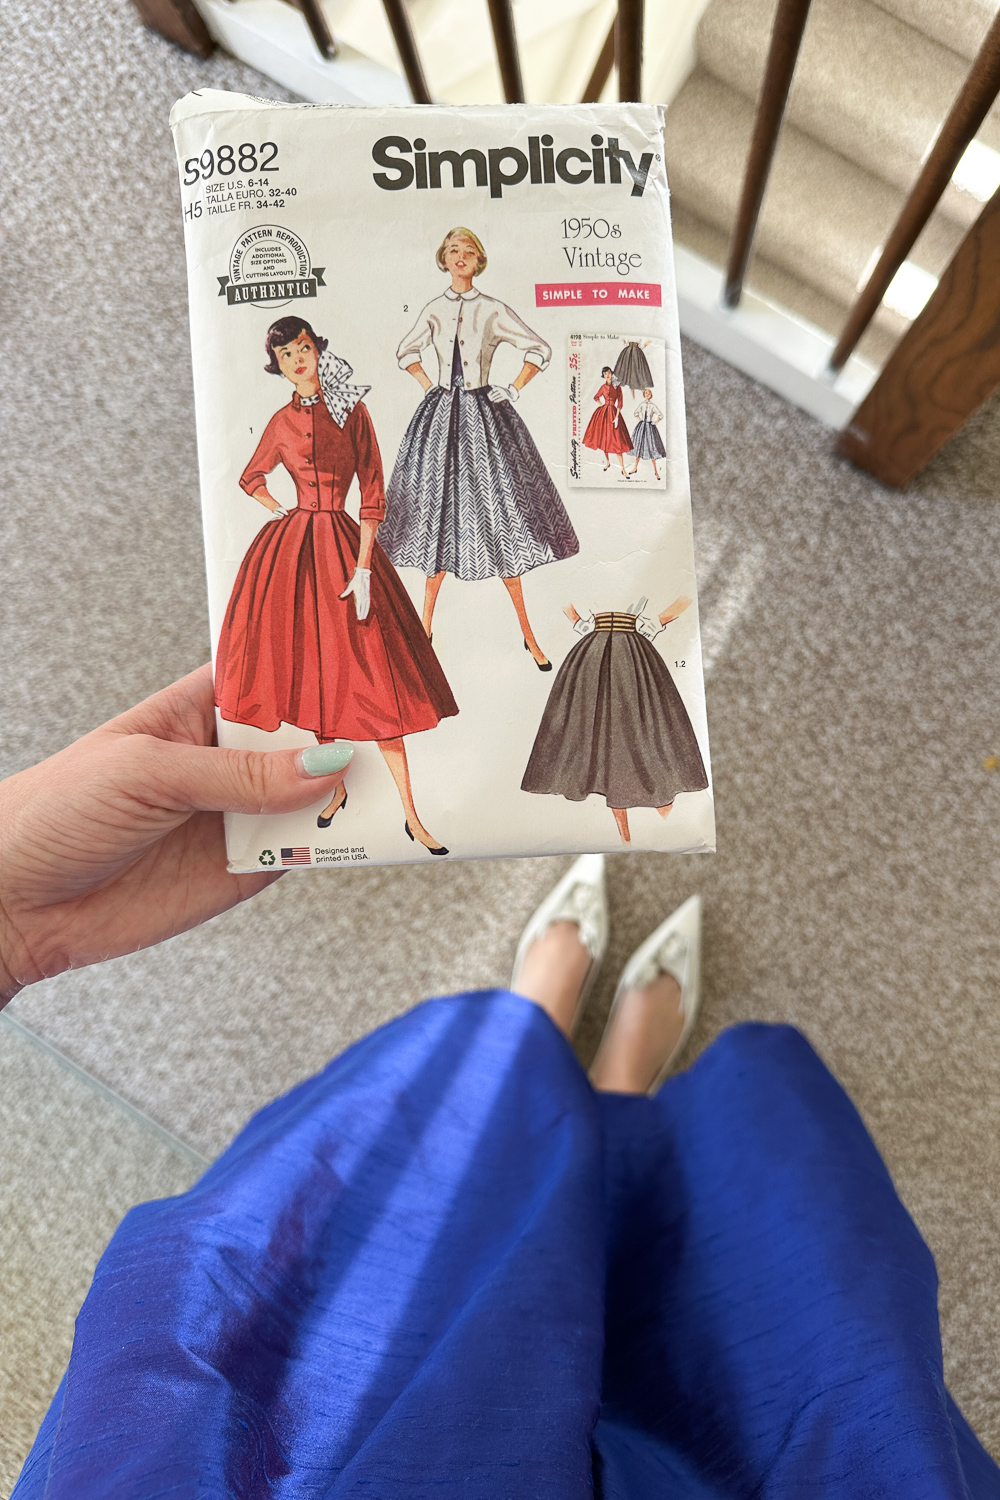
I shared this skirt on Instagram, but I wanted to put together a full Simplicity S9882 pattern review and my experience creating it.
I was so excited to start this pattern as soon as I bought it! I’ve been dreaming of a classic 1950s-style skirt, but finding one, whether new or vintage, can be tricky. Plus, I had a very specific image in mind for the final look, which I plan to complete with a matching top (more to share later!). Since I’ve been sewing more lately after a long break, it felt like the perfect project to take on myself.
Overall, I found this pattern fairly manageable. Challenging enough to feel rewarding but not overwhelming. I’m not a total beginner, but I’m no expert either. I followed the instructions closely (these vintage-inspired patterns can sometimes be confusing!) and stuck to the original design without making any alterations.

The pattern also includes a matching jacket, but I decided to start with the skirt since that’s what drew me to the pattern in the first place. Plus, it seemed like the simpler option. I’ll probably make the jacket later, though.
For fabric, I chose a beautiful taffeta (picking the color was so hard!). The stiffer texture is perfect for achieving that classic full skirt silhouette without needing extra structure.
The pattern begins with three large rectangles for the skirt: one full piece for the front and two separate pieces for the back, which are sewn together with a back zipper. When I first laid everything out, it looked huge without the pleats, which made me a little nervous. But I decided to trust the process, and I’m so glad I did!

Once the three skirt pieces are sewn together, but before starting the pleats, you can add the zipper to the back. This part was fairly simple.
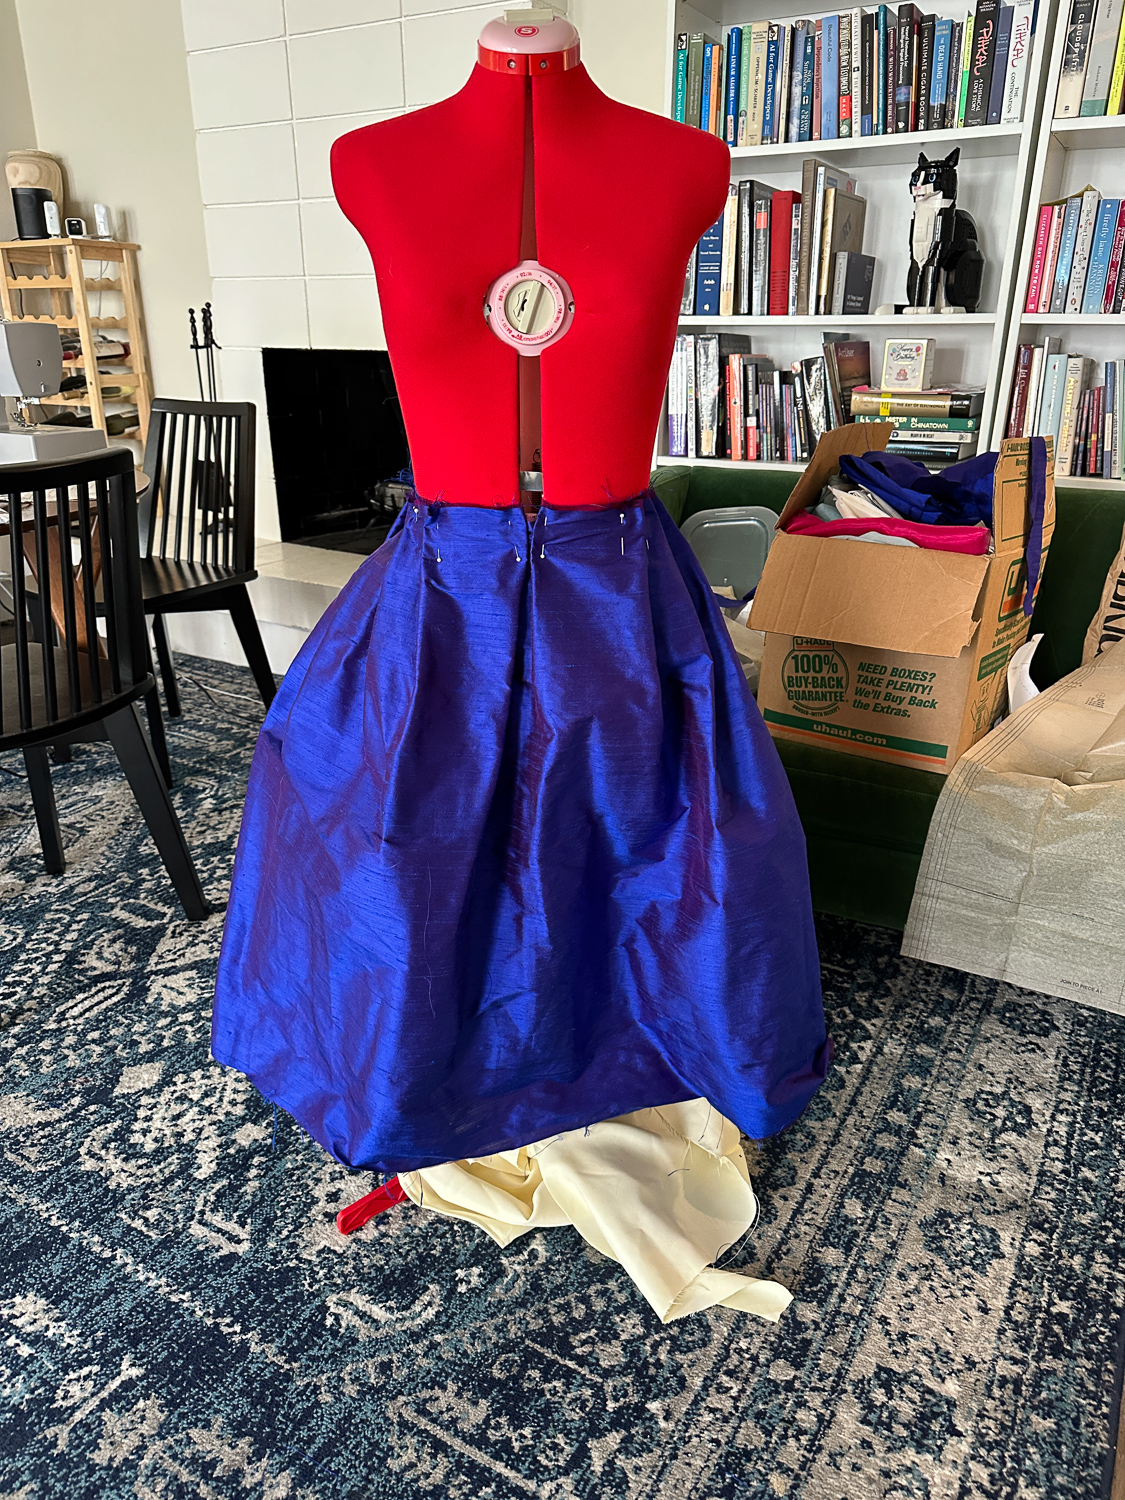
I’m so glad I ordered this sewing form ahead of time. These pleats would have been impossible to get right without it! Being able to tailor them directly to my waist size made all the difference. (And please excuse my mid-redecorating mess!) I went with this adjustable sewing form, which I highly recommend since it’s a flexible alternative to getting one custom-made.
The pleats are what determine the waist size, so pinning and sewing them carefully is super important. I started from the sides of the front pinning three smaller pleats towards the side seams. Then I added one large pleat in the center, pinning it toward the middle from each side. I repeated the exact same process for the back.

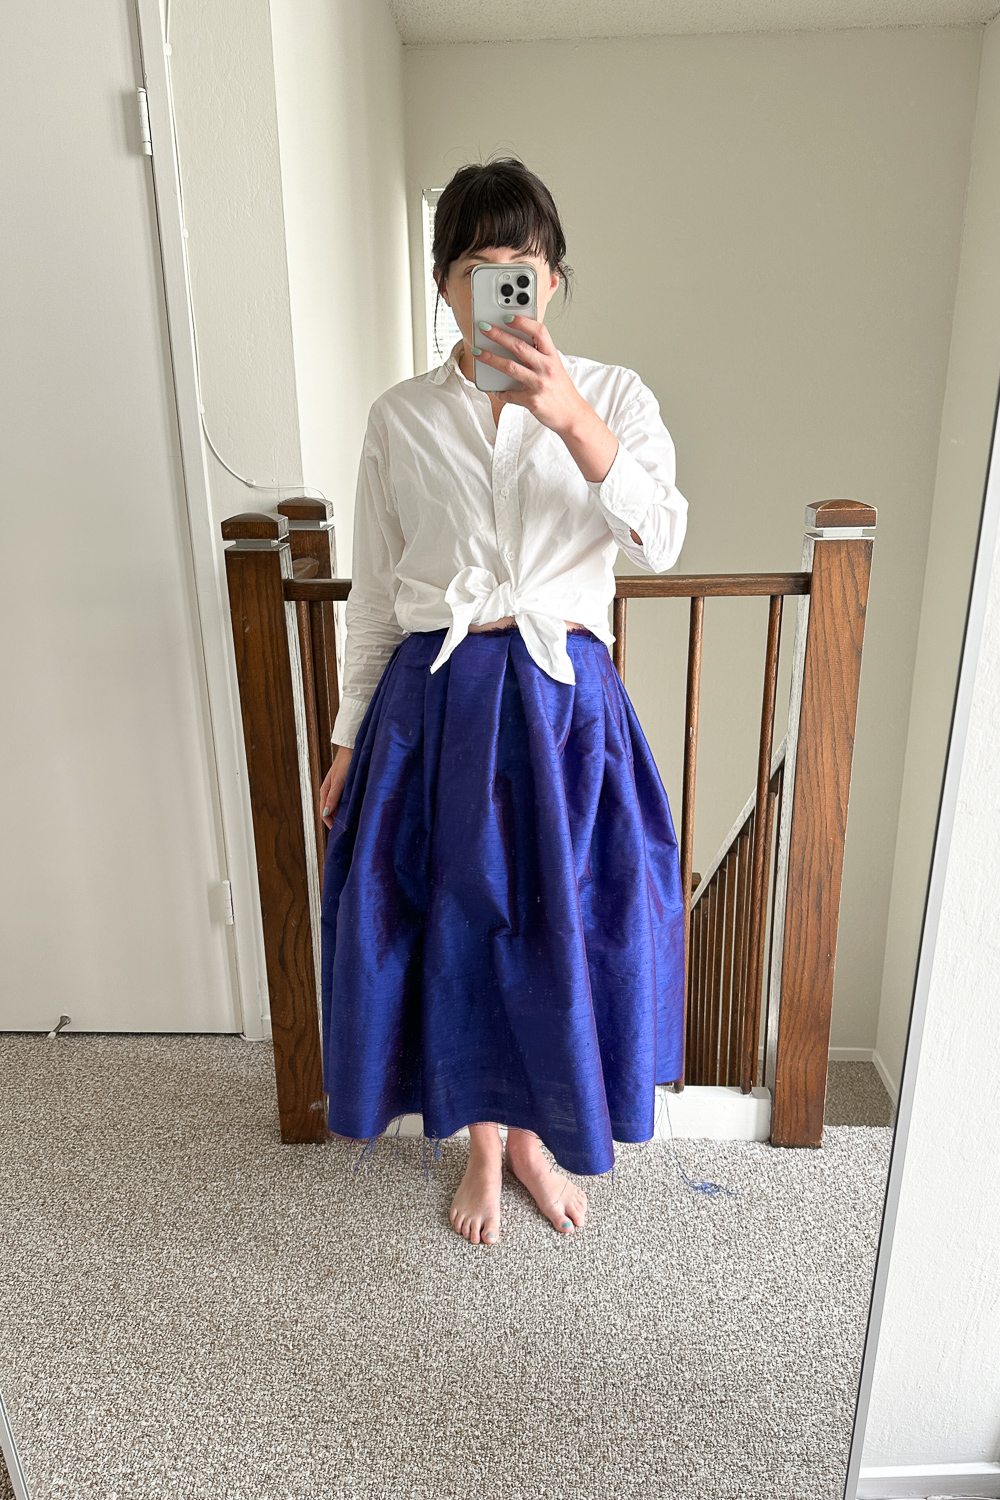
This fabric shed a lot! Looking back, I definitely should have used seam glue or another method to help control the fraying.
Once the pleats are finished, all that’s left is to add the waistband and hem the bottom and that’s it! The result is perfect, and even if you’re a beginner, it’s a fun project with just a few manageable steps. Honestly, I’m very tempted to make a few more in some of the other fabric colors I had my eye on.
That’s my Simplicity S9882 pattern review! I hope this is helpful if you’re thinking about making one too.
Happy sewing!

Leave a Reply